Saturday, October 20, 2012

First Painting --the Monochromatic

Our first project in Painting I was the Monochromatic.  We bought a canvas for this project.  First one must understand that there are many steps to undergo in the process of creating a nice painting. (this narrative is choppy as I am tired!;-)    An imprimatura is an under painting.  The underpainting was drawn on in charcoal, and sealed with fixative.  Initially we chose a spot via lottery. Next we drew thumbnails to work out what view would create the best composition.   1.pencil sketch is first.  2. Charcoal rendition on to canvas.  3.  Then the monochromatic rendering goes over the charcoal imprimatura.

This is the monochromatic-one color tone, raw umber.  We were allowed to use white also.  In the pic below the imprimatura shows under the initial applications of value.  (we had to mix a palate of all shades of raw umber with white)

We applied a mixture of Raw Umber, paint thinner and Liquin to the canvas.  We wiped it with a rag to get the excess off. (this is after the charcoal sketch is fixed with fixative)  Next we put in dark outlines with the raw umber of the shapes.


Graphite pencil sketch below--initial effort at communicating the still life.

Charcoal on canvas below.


This is the working of the various values in the objects.

Below, it is nearly finished--

This is the studio!


Update on Ceramics- Pinch Pots!

On Friday at four pm the little ceramic projects came out of the kiln, at Finger lakes Community College.  I am an adult learner art student, embarking on an adventure in ceramics, in case you are new to my blog.

I was interested to learn that the kiln has to run at a very high temp--1600F or so for 24 hrs to change the chemical composition of the pots so that they are no longer "greenware".  I am unsure of the exact temperature, but fortunately the temperature can be monitored and the professor can control it via a computer.   There are different types of ceramic ware. There is earthenware, stoneware and porcelain, and all require a different temperature for firing.  We are working with stone ware.  My pine pot and the little bears came out of their second firing, post glazing.  I have yet to see how they came out.  But here is the prior to the second firing photo.  Tomorrow, on Sunday, I am going to go in to work on my coil projects and I intend to check on the pinch pots.


Pinch projects prior to glaze application: "bisque ware"


I applied a coat of blackish copper oxide on this also to darken it.


These are the glazes.


Update on pinch pots one year later!


Thursday, October 11, 2012

The Arm--In Pastels

Every week we receive an assignment to draw a body part.  This week I handed in my drawing of an arm which I drew (painted) with pastels.  I flipped through my library book and found an arm.  The book is about Florentine art, Drawing in Early Renaissance Italy.  I rendered my drawing and then, when crediting the original artist- Vivarini from the 1480's, I read that he did his drawing from Model books, rather than from a living model.  If I had searched further, I would have made a better choice with Michelangelo's arm on another page of the same book.

 I found that pastels are fun and difficult.  I liked my limited pallet choice.  I had recalled that my daughter in law- advised creating shadow with a complimentary color..so I went with orangey yellow and a blue background and blue for value.  I also learned that what I created is actually a painting not a drawing, because I filled in the whole page.  I probably should have left a border and will for the next.  I drawing in pastels is considered a drawing when the pastels are used just for the subject.

Pastels are so difficult because they don't erase well.  The task of creating this image was not as terrifying as working with ink, but there were a few moments where I was unsure if I would be able to fix an area of color.  The shadow on the biceps was not curved correctly and at one point I moved his hand upwards.

 My instructor told me to make sure I covered the piece which I did with tracing paper.


I really do like the final outcome of pastels!  Much more interesting than graphite!

Monday, September 24, 2012

Ceramics 1

Now, I shall exhibit my Ceramics projects.

Pinch pots......
We have learned how to wedge clay--or as I call- smashing out all the bubbles!

The requirement for our first assignment was a pinch pot at least 6 inches in one direction.  I have a little bear pot and a large vase or wine cooler.


They have improved- but I did not take photos.  the cooler is not quite as peanutty looking!  The bears have more detail and a little tray under them.  I am planning to use the bear pot to put a small plant in, maybe babies tears!  I put in a drainage hole.  I should check them in the morning to be sure that they are not drying too fast.  I have a fear of being the student who did not expel all the bubbles out of the clay.  Do you know what happens??!  The piece explodes and breaks other peoples pots in the kiln during firing. :-(

The wine pot is inspired by my white pine in my back yard.  I even took "inspirational" photos.  The photos guided me in the pine needle inscribing.


The next piece will be coil.  I am excited because I have a great idea....viking ship..I shall share....

These are the evolutionary sketches as my idea comes together!


Into the First Few Weeks of the Fall 12 Semester!

I have a heavy load this fall.  I am taking more credits than I have ever taken at once before!  The grand total is 16.  I have four studio classes. ( I started my college career at Ithaca college- then William Smith- then Flcc nursing..)

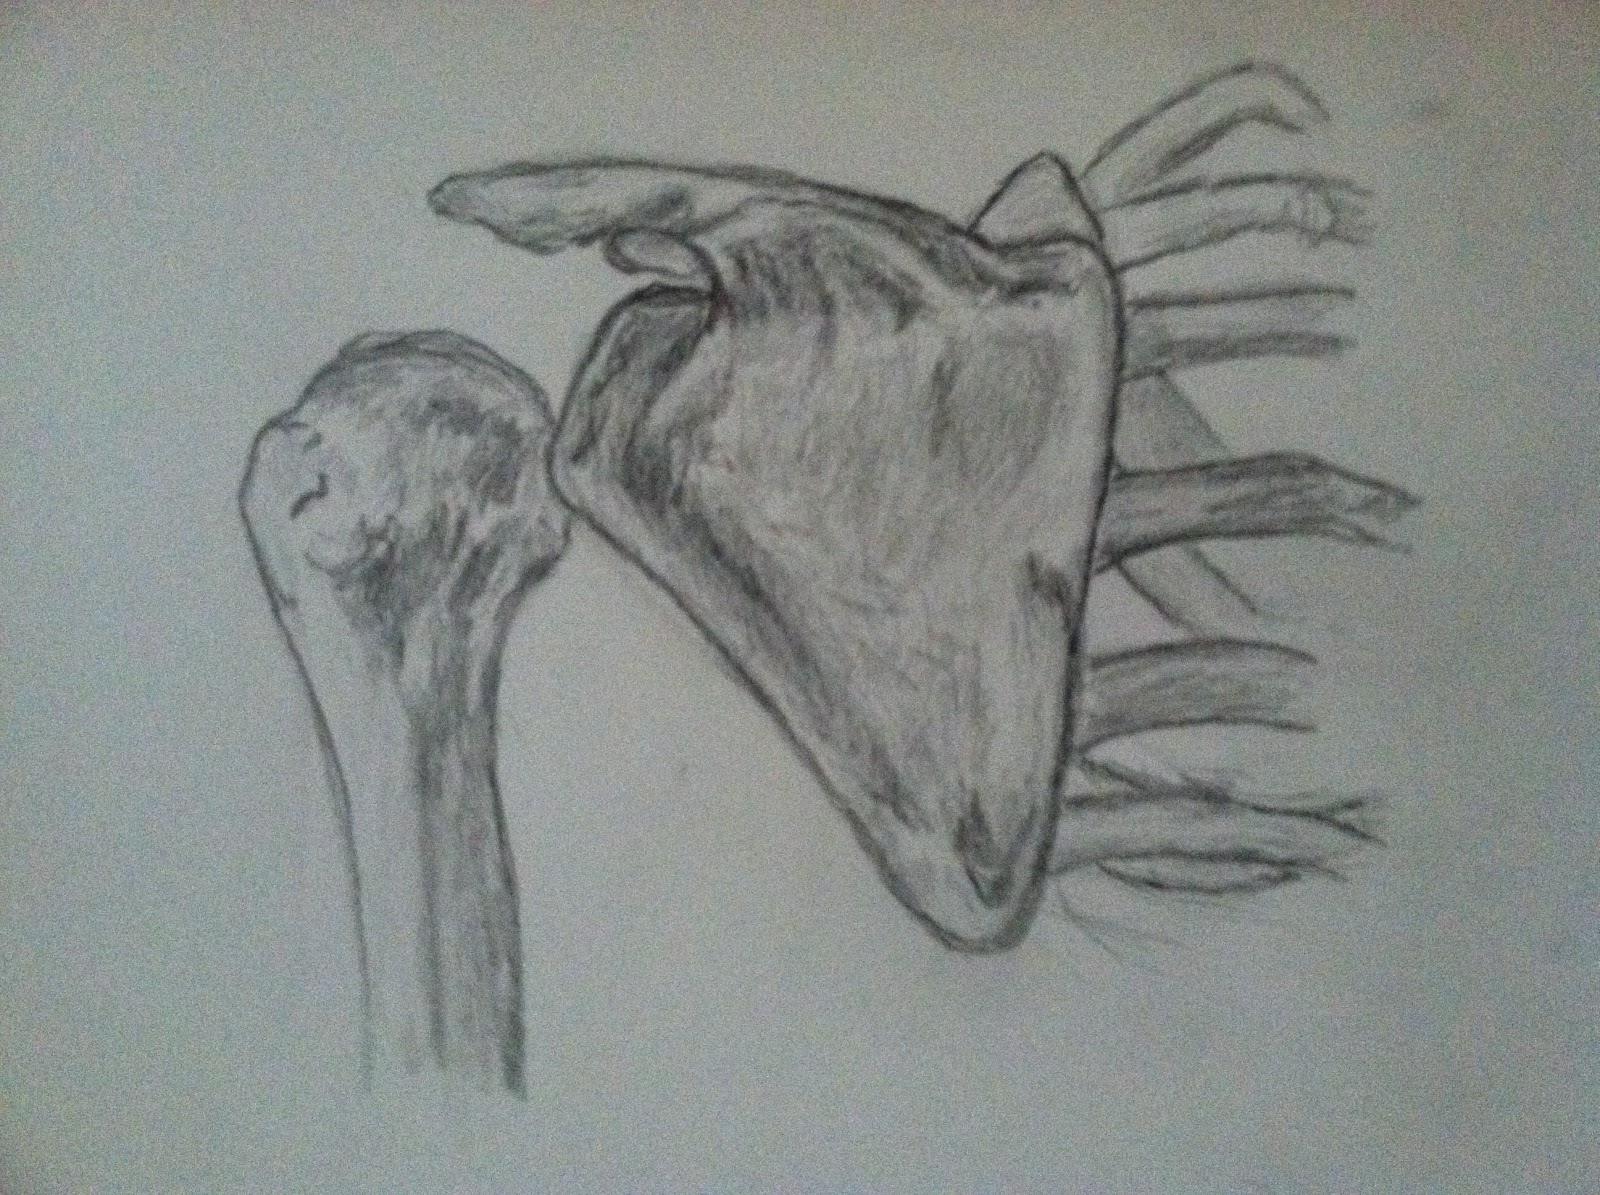
Figure Drawing:  She is a great teacher.  She is organized and she really cares.  She photo catalogs all of our work.  I have Sarah for 3 of the 4 classes.  We are learning the body and have a weekly assignment to draw muscles and bones.  So far I have tackled the clavicle, scapula, and shoulder muscles.  I copied Michelangelo's back muscles last night.  We are learning gesture drawings.  I am very happy to have her as my teacher.


this was timed- can't recall- from now on I am going to mark with time. I think it was 20 minutes.

Above- I need to fix his chin a bit- she recommends less outlining.(30 min)


30 min
I was planning on doing a blog entry about all the classes --but it would make for to long of a blog..will have to do an entry for each!

Tuesday, August 28, 2012

The Mask Project Sculpting I--2011

Last fall in Sculpting 1 one of the assignments was a mask project.  The professor offered to let me be one of the people to cast their own face.  I accepted the offer.  The process of having your face molded is scary.  Straws are left poking out of your nose- to allow you to breath.  Meanwhile, sloppy goop is plastered all over your face--sloppy goop which must stay out of the nose holes.  While assisting another student with her face casting- some liquid entered one of her straws.  The professor insisted that she still had the other straw to breath through.  One nostril does not equal two nostril air intake.  He and I had a little heated disagreement after, as she panicked during the procedure and it was nearly a failure.

I had my bare face casting and had to think of something creative.  I eventually decided on a take on the Egyptian death mask.  I had soft wooly balls of various sizes and colors.  Prof wanted symmetry of size and color and placement of the balls.  This was nearly impossible, due to the selection I had.

This is prior to placement of goop.  The goop used is dental form material..used when crafting dentures and partials. It is molded to face, allow to set, then used as a form for plaster.

This was a first attempt at ball placement- but it developed into something else. I sort of disagree with the professor- I think that symmetry in design is boring.  The head dress was my first attempt at paper mache.  I made a flour and water mixture,soaked newspaper and placed it over a plastic bag scrunched into a form.  It worked but it is not really good quality.

The master who inspired me with the colors was Kandinsky:
I picked up this poster at a garage sale for a dollar.


This was changed a little later--I made the eyes different- pupils horizontal, like a goat's!  The color is off in this picture.

I thought I had achieved the symmetry he wanted, but his final comment on the project was that the balls were not symmetrical enough.

Saturday, June 9, 2012

And You Thought a Murmuration Was Beautiful!!!!

I was thinking about the most challenging piece an artist can undertake.  The self portrait.


 A question arose in my mind, "Are humans the only species capable of self portraits?"

 Here we have Rembrandt, famous for doing the self, holding a dead bird.  WHAT ABOUT THE BIRD?   Does the bird have the mental capability to desire to preserve its own image?  And if it does, what medium would it choose?  Does it have a choice?  I think that there is only one choice for the bird, sadly.  We need only to look to the Dada Scatological  Avian Interpretive Movement to make the lowly bird's dream a reality.

You might not realize that the piece below is avian stool, applied loosely to auto window glass, then dried in the sun to a matt glaze.  Who knows what forces were at work combined with innate depository skill to create such a "chance?" happening, .


In this background we can see the image of an owl, turning its head, as if to say, "remember me, I exist."